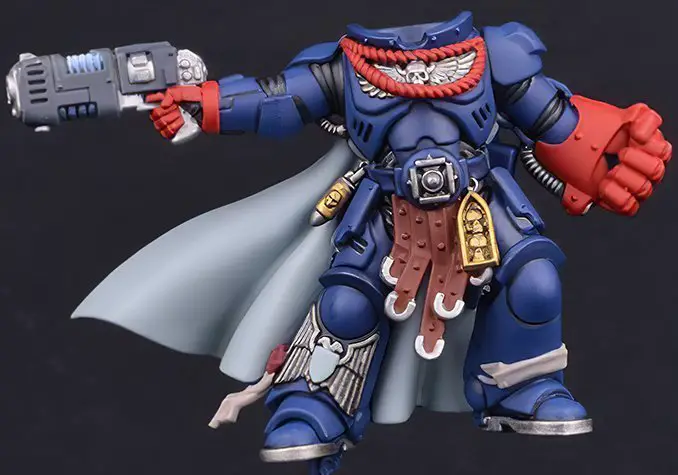
How to Paint Crimson Fists Tutorial – 2019
This week’s Brushstroke Tutorial covers how to paint Crimson Fists
To See my latest Guides, Find me on Facebook & Instagram
How to Paint Crimson Fists – Paints & Tools
Brushes
- Winsor & Newton Series 7 (not the Series 7 ‘Miniature’ Brushes)
Paints
- Kantor Blue
- Mephiston Red
- Eshin Grey
- Celestra Grey
- Doombull Brown
- Alaitoc Blue
- Hoeth Blue
- Evil Sunz Scarlet
- Administratum Grey
- Waywatcher Green
- Ulthuan Grey
- Khorne Red
- Ushabti Bone
- Wazdakka Red
- Bone Dust
- Dark Sand
How to Paint Crimson Fists – Tutorial
Step 1 – Base Colours
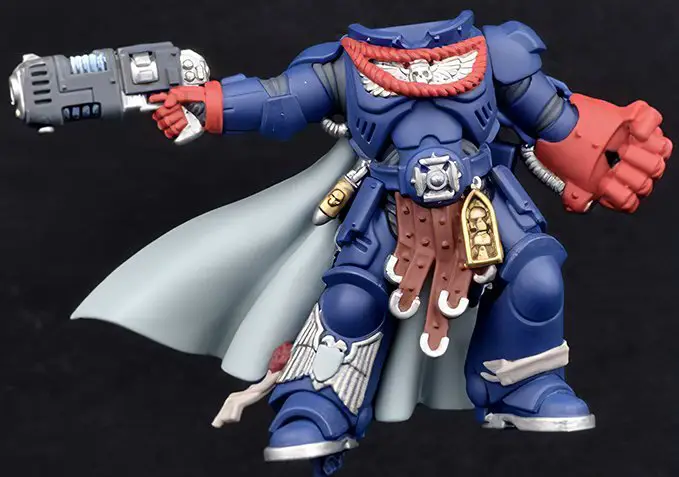
Over a light grey primer* paint in the following base colours:
- Main armour – Kantor Blue
- Crimson fist & red details – Mephiston Red
- Armour joints, Gun casing & Outside of Cloak – Eshin Grey
- Aquila & silver details – Ironbreaker
- Inside of Cloak & white details -Celestra Grey
- Leather details – Doombull Brown
- Gold details – Retributor Armour
If you want a darker finish to your blue armour, then prime black. Any white details, though, will require a coat of Dawnstone before you apply the Celestra Grey. As it will help achieve a solid covering easier and smoother.
Step 2 – Shading
Recess shade all the armour panels with NuIn Oil.
This means you just want to run the shade into the grooves and edges of the armour and not all over the model. If you make a mistake, simply let it dry and tidy up with some Kantor Blue.
Shade all the Eshin Grey joint areas of the armour and silver details with NuIn Oil. Take care to keep it off the Kantor Blue coloured armour, to avoid unwanted tide marks.
Again, if you make a mistake, just let it dry fully and tidy up with some Kantor Blue.
Step 3 – Highlight
Using the edge of your paintbrush apply an edge highlight of Alaitoc Blue around all the armour panels.
Add a second highlight. This time with Hoeth Blue, concentrating on the top edges and extreme points of the armour.
The important thing to remember when edge highlighting, is you want the paint to be thinned so it flows easily from the brush but not so much that it will run everywhere.
This step does take a bit of patience but try and keep the lines smooth and even.
Don’t worry if you make any mistakes. Just let it dry and tidy up with Kantor Blue.
Step 4 – Darken
By only recess shading the armour so far, it enabled highlighting and mistakes to be corrected with Kantor Blue. Had the whole of the armour been shaded earlier it would have made those corrections a lot harder to colour match.
Now the main highlights are in, however, the armour can be darkened down to a tone you’re happy with.
For this model, I just applied one thin coat of NuIn Oil over all the blue armour, as a glaze, to darken the overall tone. Glazing simply means you want to wet the surface evenly but unlike a wash, you don’t want it to pool in the recesses. You just want to tint the whole surface evenly.
Let the NuIn Oil dry FULLY and then apply another coat if you want it even darker.
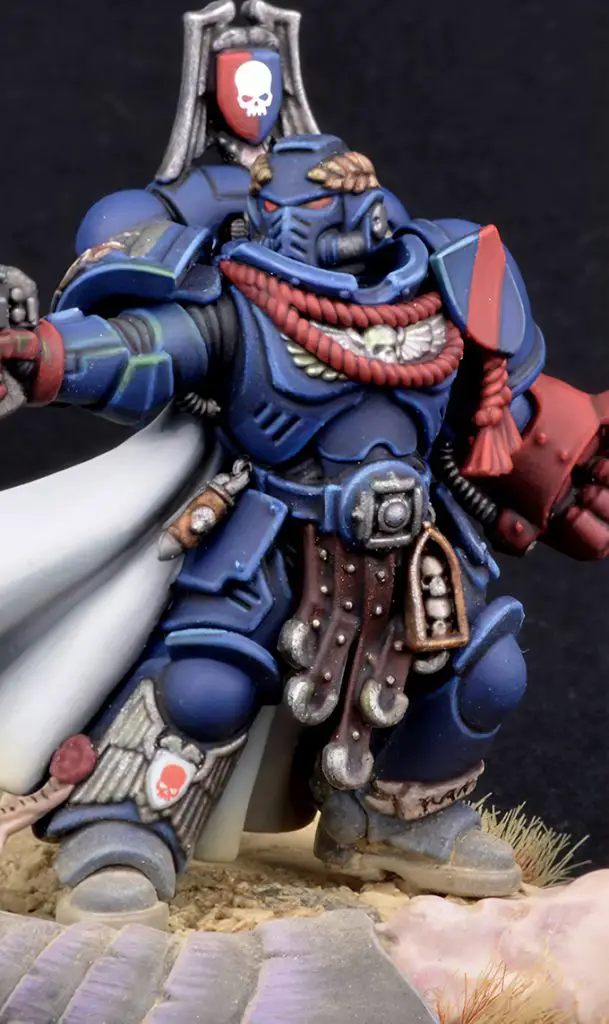
Step 5 – Details

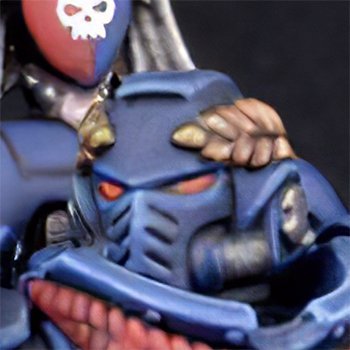
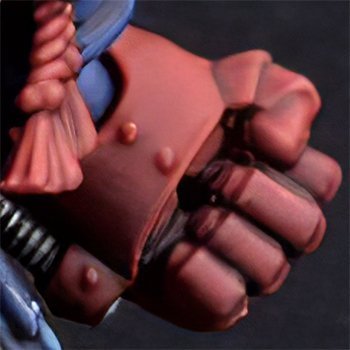
Crimson Fist & Red Details – Base Mephiston Red. wash with Army Painter Red Tone (this wash gives a much deeper shade compared to GW’s red whilst still keeping the strong red tone). Layer with Mephiston Red and highlight with Evil Sunz Scarlet.
Bolter Plasma – Base the Administratum Grey and highlight the ridges with pure white. Glaze the whole area with Waywatcher Green. For any OSL highlight with Dawnstone and glaze over with Waywatcher Green.
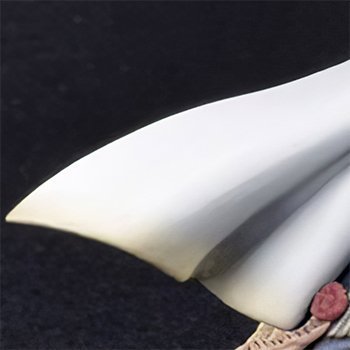
Cloak (inside) – Deepen the shadows in the folds with thinned down Dawnstone and layer up with Administratum Grey. Highlight the peaks of the folds with Ulthuan Grey, finish with an extreme edge highlight of pure white.
Cloak (outside) – Base with Eshin Grey, wash with Nuln Oil, layer with Eshin Grey and highlight with thinned Dawnstone.
Aquila & Silver Details – Base with Ironbreaker, wash with Nuln Oil and highlight with Ironbreaker
Gold Details – Base with Retributor Armour, wash with Agrax Earthshade and highlight with Liberator Gold.
Purity Seal – Base with Khorne Red and Ushabti Bone. Shade with Agrax Earthshade. Highlight with Wazdakka Red and Ushabti Bone. Add lines of writing in thinned Eshin Grey.
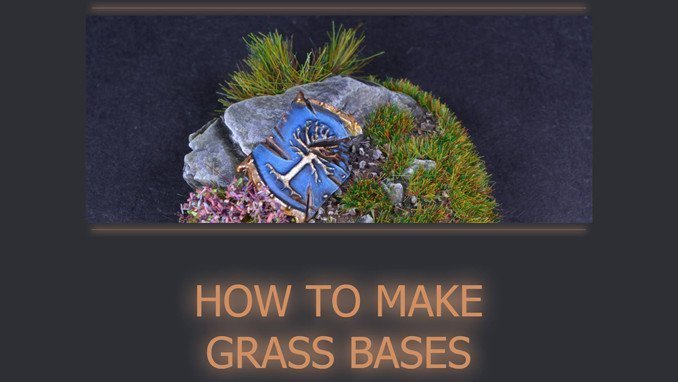
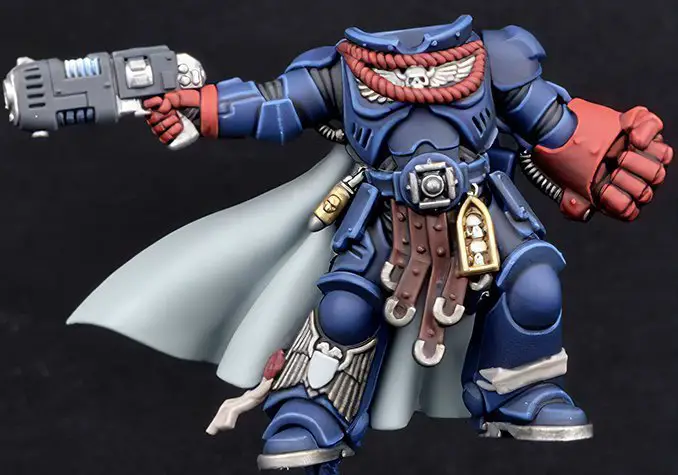
Step 6 – Weathering
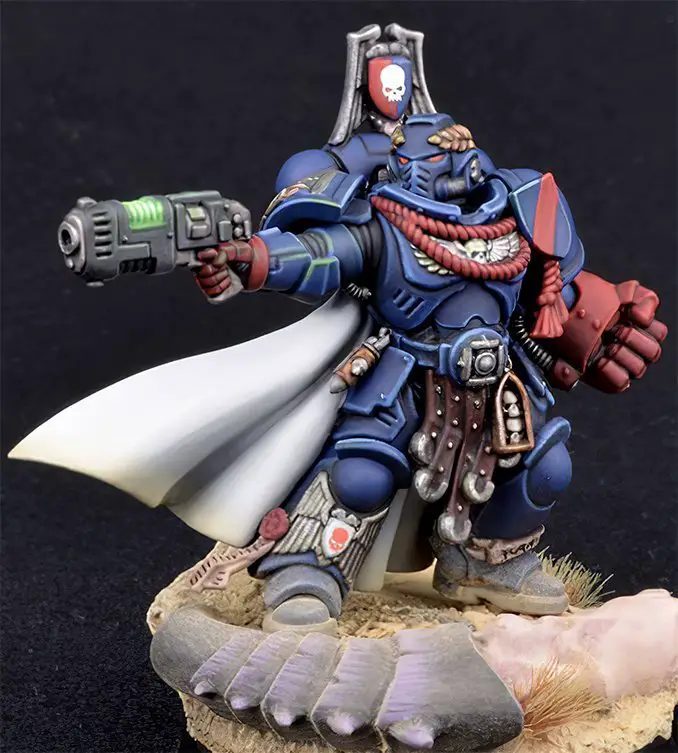
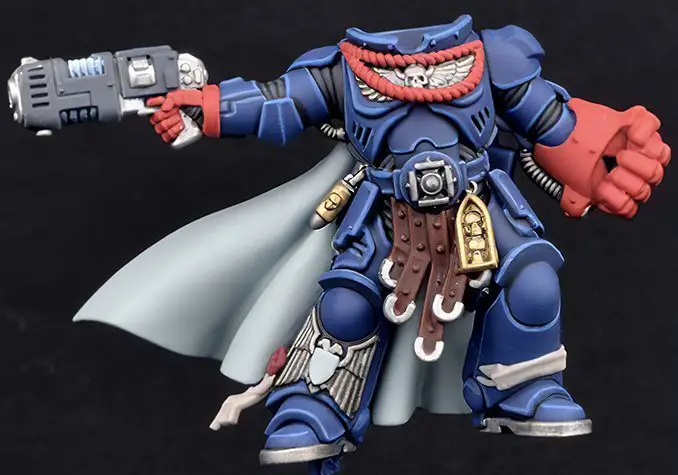
At this point, the marine is finished and you can base it however you like.
As my base was arid sand I decided to add some dust weathering using weathering powders:
Mix together Bone Dust and Dark Sand Forgeworld weathering powders as a 50:50 mix. Drybrush the powder onto the model and build up the coverage slowly. Easy to add more, harder to take away ;)
Once the dusting is as required, seal it with pigment fixer or matte varnish.
How to Paint Crimson Fists – Complete
Thank You
I hope you find this guide useful.
If you do have any questions or suggestions on how to improve it for others, then please do let me know.
Don’t forget to LIKE and FOLLOW my Instagram & Facebook pages for more painting and basing guides.
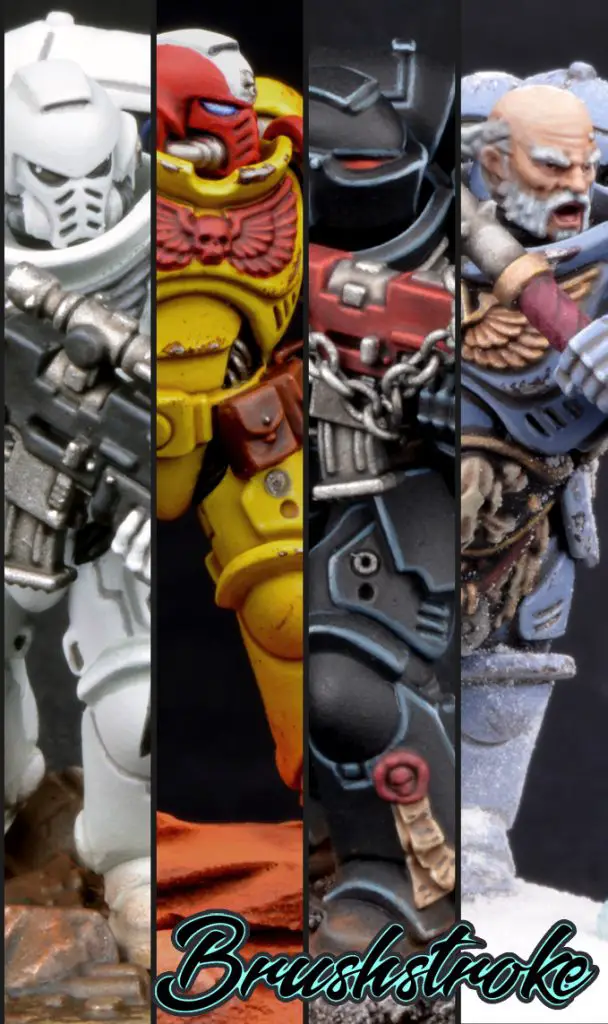
More Tutorials From Brushstroke
Got any questions? Want to see more tutorials like this, or what I’m working on next? Follow me on Instagram by clicking any of the images in this post.
I’m now on YouTube, Subscribe to my channel and see my video guides by clicking here.
See this full tutorial and more, directly on my Instagram & Facebook pages. Don’t forget to LIKE and FOLLOW for more tips and guides.
What did you think of this Tutorial? please let us know in the comments.
If you like what we’re doing here you could really help encourage more content with a share on any social media platform.
Click the share links at the bottom of this screen (or on the left for computers and tablets)
Want to keep updated with the blog? You can subscribe in the sidebar for RSS or by email below
(Sidebar is below the article on Mobile Devices)
Author