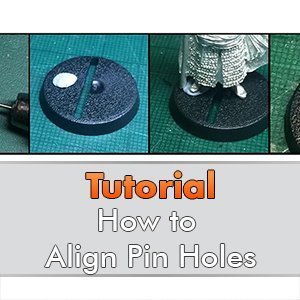
How to Align Holes when Pinning Miniatures & Wargames Models
Last Updated on May 12, 2022 by FauxHammer
Brushstroke here with a really quick tip showing how to align holes when pinning your minis.
To See my latest Guides, Find me on Facebook & Instagram
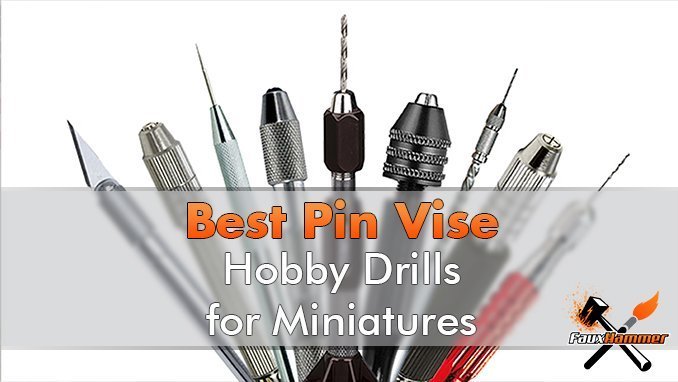
Check out the best Pin Vise / Hobby Drill to use for your Miniatures
How to Align Holes when Pinning Miniatures – Tutorial
Step 1
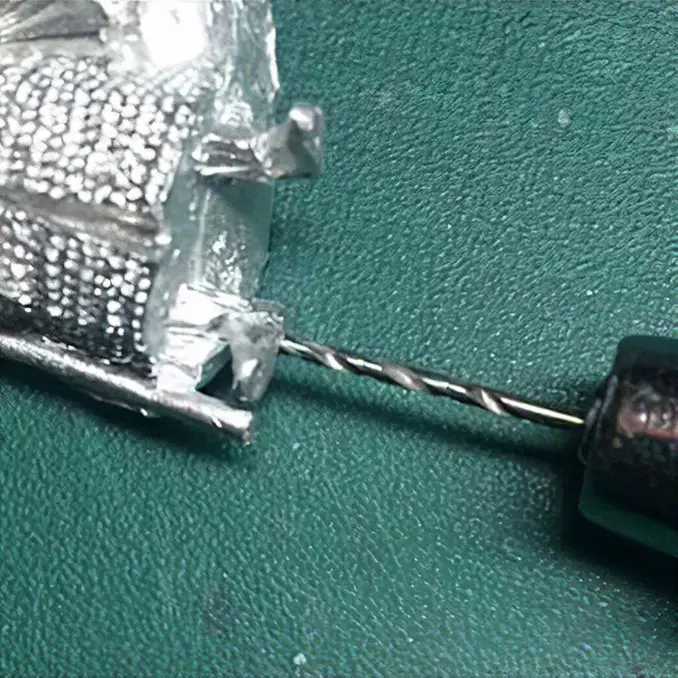
Start by drilling a hole in the part you want to pin.
Step 2
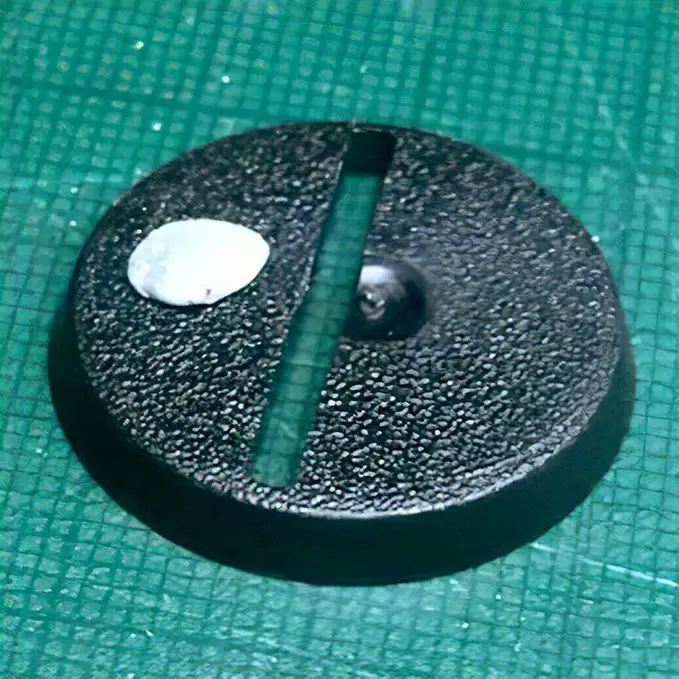
Place a small piece of Blu Tack in the place you want to pin the part to.
Step 3
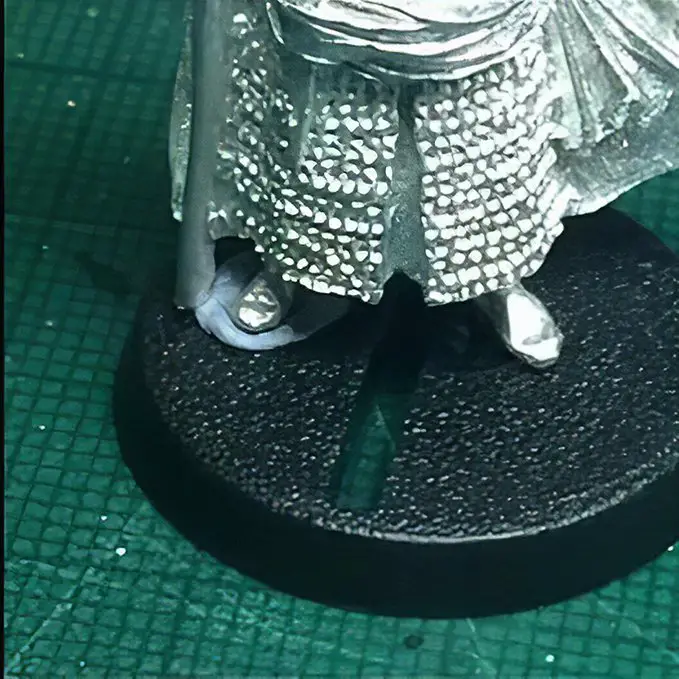
Add a small amount of water to the surface of the drilled part and press it into the Blu Tack, in the position you want it to be in.
Step 4
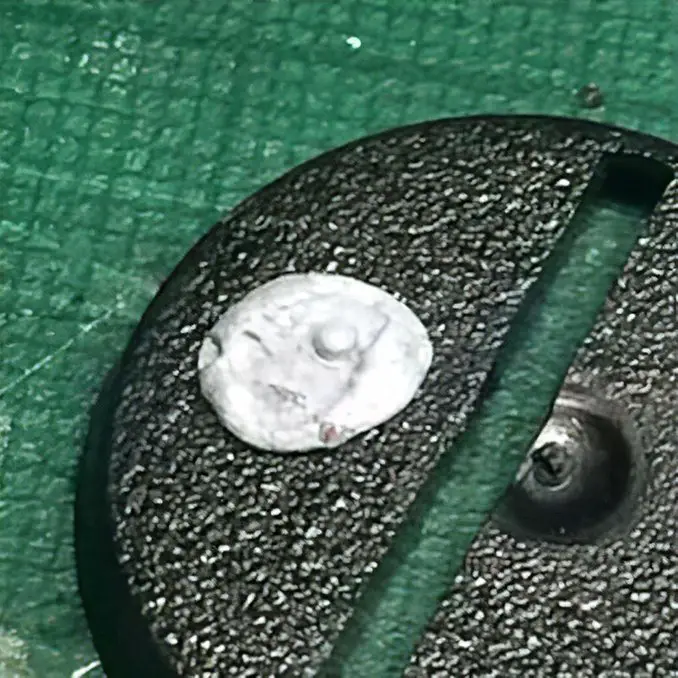
Gently remove the drilled part from the Blu Tack, taking care to not move the tac.
Making the drilled part wet will make this easier.
You will then be left with a little bump in the tac indicating the exact place to drill your second hole.
More Tutorials From Brushstroke
Got any questions? Want to see more tutorials like this, or what I’m working on next? Follow me on Instagram by clicking any of the images in this post.
I’m now on YouTube, Subscribe to my channel and see my video guides by clicking here.
See this full tutorial and more, directly on my Instagram & Facebook pages. Don’t forget to LIKE and FOLLOW for more tips and guides.
What did you think of this Tutorial? please let us know in the comments.
If you like what we’re doing here you could really help encourage more content with a share on any social media platform.
Click the share links at the bottom of this screen (or on the left for computers and tablets)
Want to keep updated with the blog? You can subscribe in the sidebar for RSS or by email below
(Sidebar is below the article on Mobile Devices)
Author