
How to Make a Dice Tray
Last Updated on November 10, 2019 by FauxHammer
I was inspired to make this DIY Dice Tray after playing my first game of Space Hulk and losing dice on the floor. So here we have our Dice Tray Tutorial.
No matter if you are looking for the best dnd Dice Tray or a Large Warhammer Dice Tray, this guide could be right up your street. If you want to make your own DIY d&d dice tray, we’re making a large Dice Tray which will cover the majority of board games. But even if you are wanting something huge for largescale wargames, then you can easily modify this guide to make a gigantic Dice Rolling Tray.
Tabletop Dice Tray Inspiration
If like me you got some new games for Xmas or you have some old ones you play on the tabletop. I’ve found a dice rolling tray is a fantastic tool to stop you hitting your mini’s or getting rolls that land on the edge of something.
For us, to keep games fair, we’ve instigated the rule that the dice must hit a side of the tray for a roll to be counted. Just to avoid anyone trying to do trick roll and get what they want every time.
Why Use a dice tray?
Shortly after having my first ever game of Space Hulk, I realised a wooden Dice Tray would be very useful to stop my dice from knocking minis, landing at odd angles against the board pieces, falling off the table and would just be a generally cool thing to have.
Sorry if you don’t like the colour, but in case you can’t tell by the blog theme, I like Black and Orange. However, you can make this homemade dice tray in pretty much any colour you like. If you want your dice tray purple, just get purple felt. You can also felt the sides in a darker or contrasting colour to make it pop. The frame used here is only available in Black or White unless you want to paint it.
I usually turn to eBay for all of my hobby supplies, it is normally the cheapest place to pick up supplies and tools.
Anyway, this time, a search for “Dice Tray eBay” failed me! Try it, Search for Dice Tray on eBay and you’re looking at some expensive options that are quite small. Not too bad, but the quality of the cheapest items did not seem worth the price to me.
Then I searched Dice Tray Amazon and Dice Try Etsy. There are some really cool options like a velvet dice tray which folds away. But I wanted a Dice Tray for Metal dice. However, I also wanted the best Dice Tray I could get and I didn’t want to spend very much.
So, I decided to make one, and doing this meant I could have a decent-sized tray in the colours I wanted, I started searching online for Dice Tray Alternatives and got a few great dice tray ideas. I looked at dice tray designs & wooden Dice Tray plans, even a 3D printed dice tray. It quickly occurred to me that all dice tray blueprints are literally just a solid frame with a baseboard covered in felt. Even the felt isn’t necessary, this just makes for a quiet dice tray.
You can build your own frame and make a dice tray from scratch, you don’t really need any special dice tray schematics., For me, the effort required vs simply buying an Ikea frame just wasn’t worth it.
I also checked out a dice tower vs dice tray guide. However, as I expected to be using more than a handful of dice, I figured a dice tower tray wouldn’t be much use. Although they are cool. If you are looking at a tower dice tray, d&d is probably more your game. If you are after actual dice rolling tray, DIY is the way to go. If you are still deciding whether to choose a Dice Tray or Tower. It depends on how many dice you are rolling. for large army games with more than 10 dice, I’d say go with a tray. For board games or tabletop games, the tower is a cool dice roller.
The best part for me is that this dice tray cost me next to nothing, and I managed to make a dice tray box on Boxing Day” Which included going out and buying the parts. If you’re after a dice tray cheap, I genuinely couldn’t find a cheaper dice tray online. Especially at this size.

DIY Dice Tray – Tools
So, let’s have a look at making a custom dice tray
First, you want to pick up the parts, there are only 2 main things you need (along with some consumable items you probably already have)
1. An Ikea Ribba Frame
- Ikea Ribba Frame in the UK
- Ikea Ribba Frame in the US
- Ikea Ribba Frame in Australia
- Ikea Ribba Frame in Canada
Or you can just go into any Ikea store
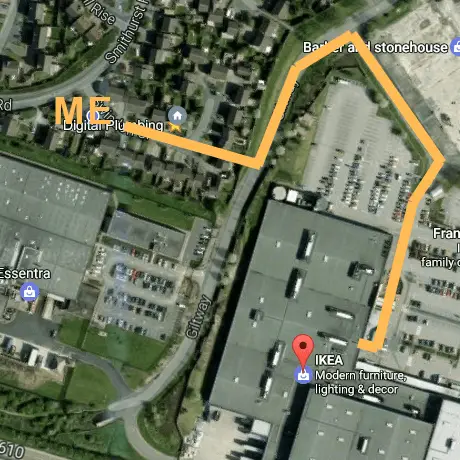
Luckily for me, I live this close to an IKEA. I can be from my front door to theirs in less than 3 minutes if I run (I don’t run, I’m too unhealthy, it took 5 minutes). For a quick ready-built cheap frame for a dice tray, Ikea was the place to go.
Dice Tray Dimensions
Ikea will show the actual dimensions of the frame. the rolling area has the following Dice Tray Measurements; 215mm x 215mm x 30mm (LxWxD)
2. Some Felt
To makes a Dice Tray, Craft felt does the job, it’s easy to find and it’s cheap to pick up. This is pretty standard for dice tray fabric.
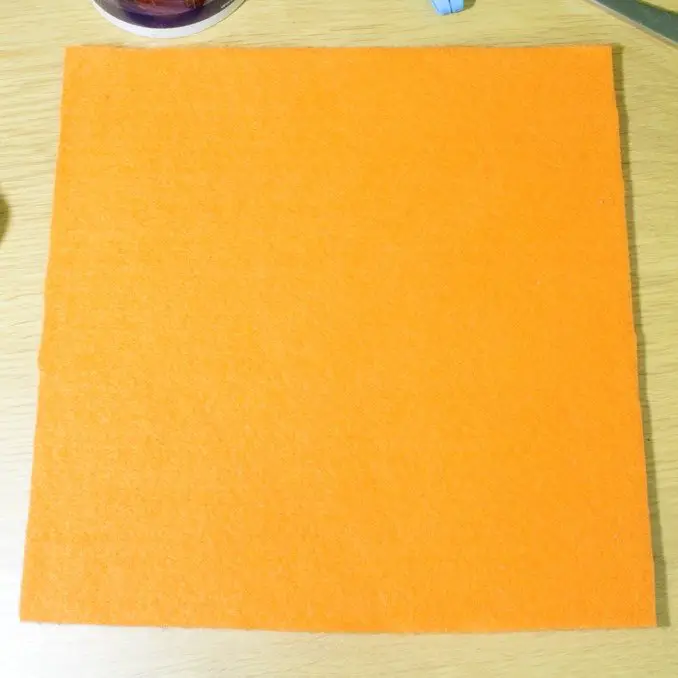
You can pick up dice tray material in packs from quite a few places, I just pulled 2 sheets out of a large multicoloured pack my kids had. They were about the same size (area) as a normal sheet of A4 writing paper. The best felt for dice tray is about 1mm thick. But have a close look at the pictures of what you’re buying as some of the stuff is quite thin (as in the density is poor and you can see through it. Though it’s still technically 1mm thick) You don’t want the thin stuff, you want the dense stuff.
The sheets need to be at least 23cmx23cm (9″x9″) as these are your dice rolling tray dimensions. The Dice Tray Depth is about 3cm for the felted edge, 3.5c including the frame area. Ideally, you want some felt a touch larger than the area you are covering. And you will need at least 2 sheets at this size to cover both the base and sides of your dice tray.
Dice Tray Felt UK
Dice Tray Felt US
Dice Tray Felt Australia
Dice Tray Felt Canada
The rest of what you need for your dice throwing tray I’ll assume you have. But I’ll list it here so you can get it ready;
- PVA Glue
- An old, fairly large brush (for applying the PVA Glue)
- X-Acto Knife, Craft Knife and/or Fabric Scissors
- Coarse Sand Paper
- I used 2000 grit as it was right next to me in my supplies box as I was doing this, but you ideally want something more coarse, like 80.
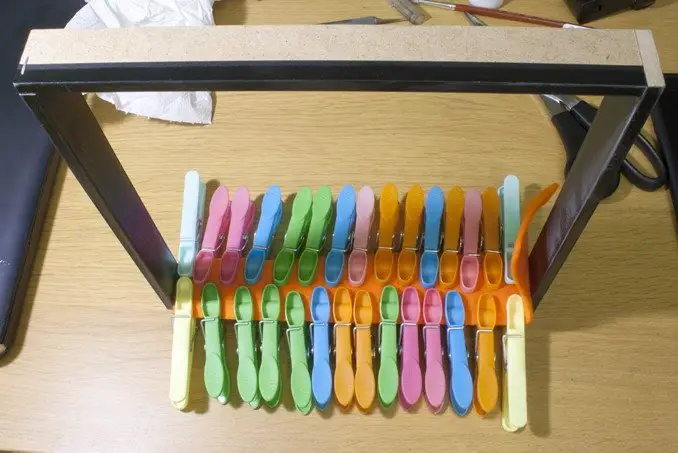
- Model Clamps or Pegs (optional)
If you want to know how to decorate a dice tray, One option is to get some fabric Transfer Paper and make a design you can iron on to your felt. Practise this first as the colours may clash if the felt shows through when you transfer it. This will really make your dice tray custom and at some point, I should get round to doing mine.
DIY Dice Tray – Tutorial
This is a quick cheap and easy dice tray build. Follow along with these easy steps showing how to build a dice tray.
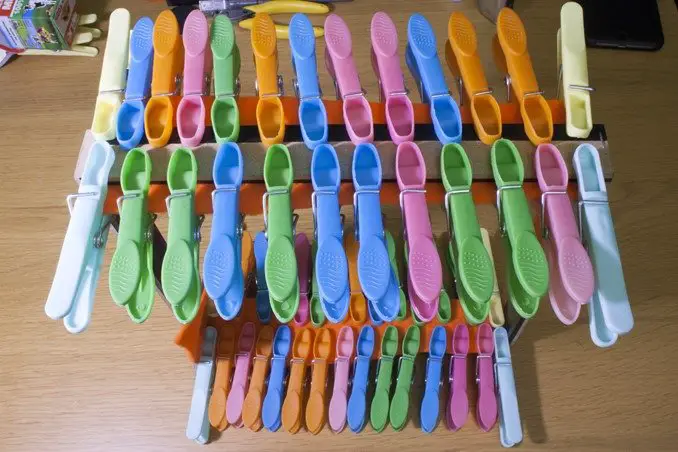
DIY Dice Tray – Step 1
So, I guess this step is simply to lay out all your parts and clear your work area to make your DIY Dice Tray. 40k will be so much easier with one of these on the side.

DIY Dice Tray – Step 2
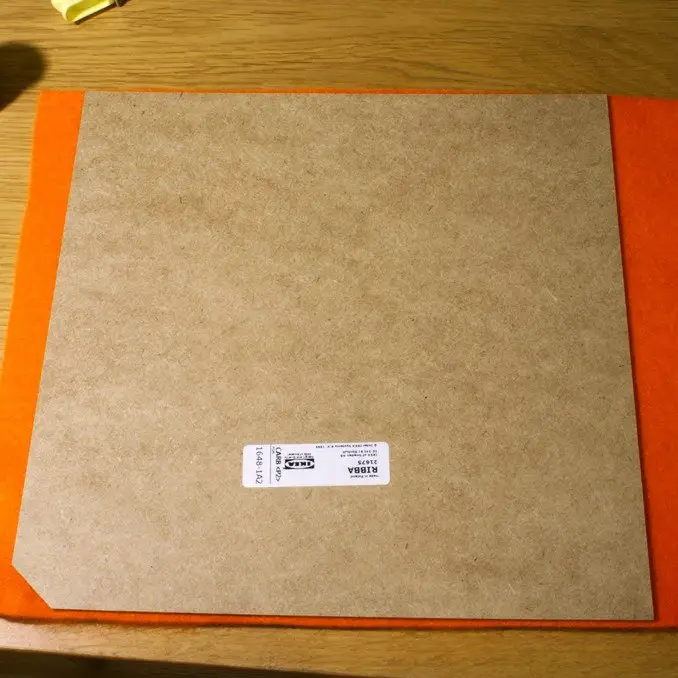
Open the Photo Frame, take out the backing board (Also take out the Glass, paper and picture Mount/Surround, and bin them, you don’t need them) and make sure your felt is big enough, mine was about the size of an A4 sheet of paper and was just big enough, it stretches anyway and the frame will cover a couple of mm on each edge, so if it’s just slightly too small, don’t worry
Note, you may think you could use the glass as a palette, but it’s quite thin and has sharp edges. It would probably break and/or cut you at some point.
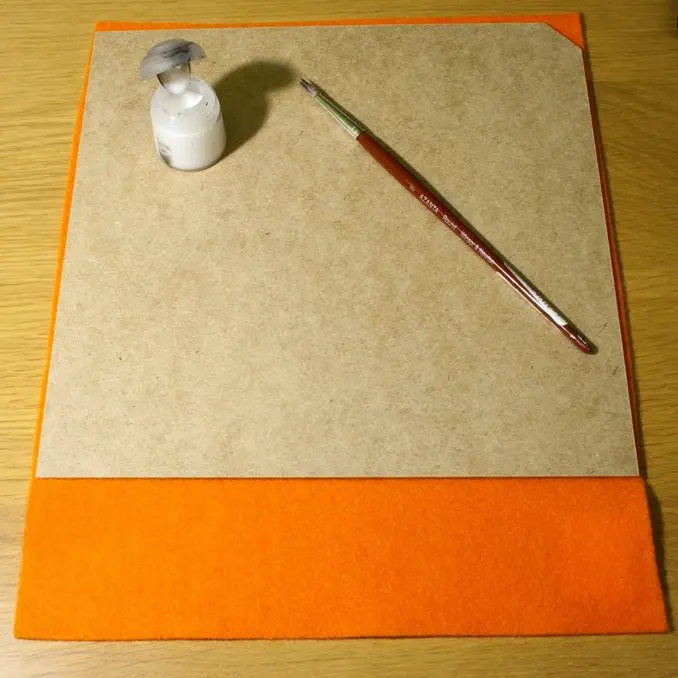
FYI, the GW paint pot is glue, I just put it in a spare pot after Decanting all my GW paints to Dropper Bottles
DIY Dice Tray – Step 3
To felt Dice Tray, cover the whole backing board in PVA Glue, do it quickly so it doesn’t start to dry, I also had about a 70%-30% mix of PVA Glue to Water to make sure the PVA Glue was smooth. (apply too much or apply it too watery and it will soak through the felt)
DIY Dice Tray – Step 4
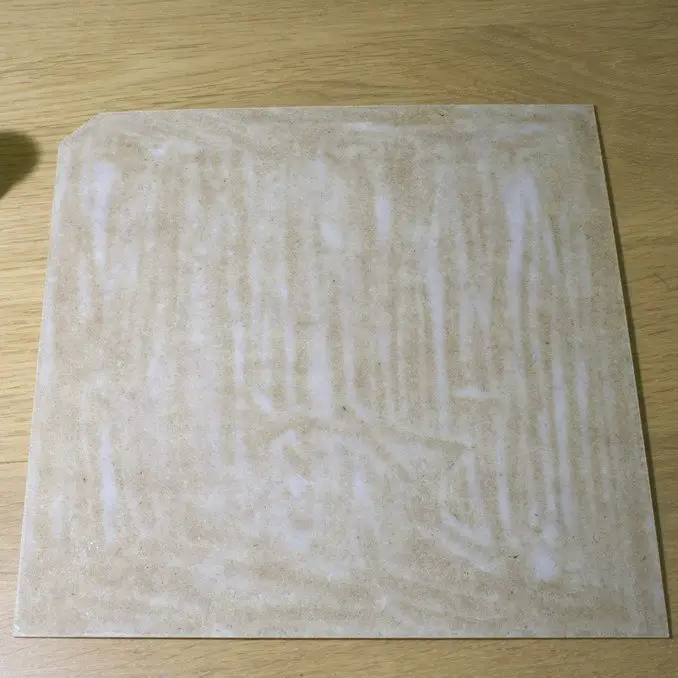
Literally, stick the felt for dice tray to the backing board, to make the Dice Tray Base. I did it the other way up than shown in the image, then flipped it over. by doing it this way I was able to smooth out the felt so that I had no creases. and keep my eye out for any glue coming through. Give it 10 minutes so the glue starts to set, then flip it over. put something flat and heavy on it. I used a dinner matt and a fruit bowl. this is just to hold it in place. Leave this to completely set.
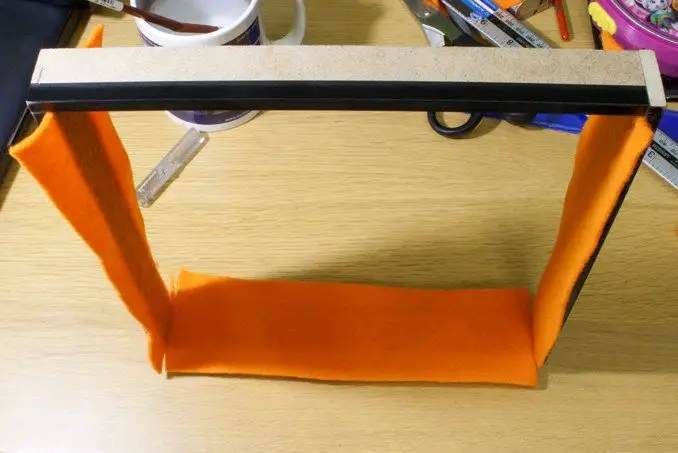
DIY Dice Tray – Step 5
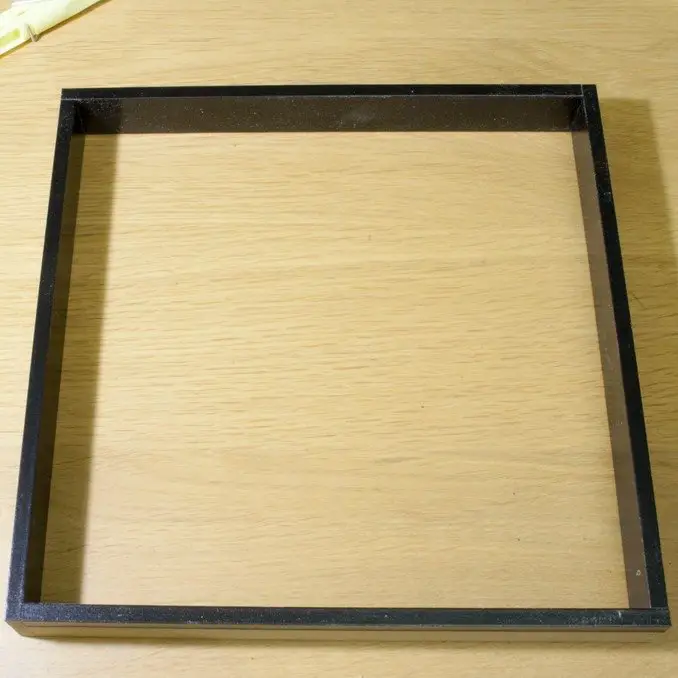
The best part of this DIY Dice Tray is that the photo frame is deep and has an inner surround. So, if you want to you can have a photo recessed into the frame so that you have a deep frame. (perfect for decoupage). Or, you can use this to push the picture and/or mount to the front so that it is directly behind the glass.
We’re going to show how to line a dice tray. Use this inner frame to felt the edges of your dice tray picture frame. having this inner frame is another benefit of the Ikea frame. most box frames will not have this. This step is totally optional, but the finished product looks better and makes your dice tray quiet. (you could also use a different colour felt here to contrast the colour of your base).
DIY Dice Tray – Step 6
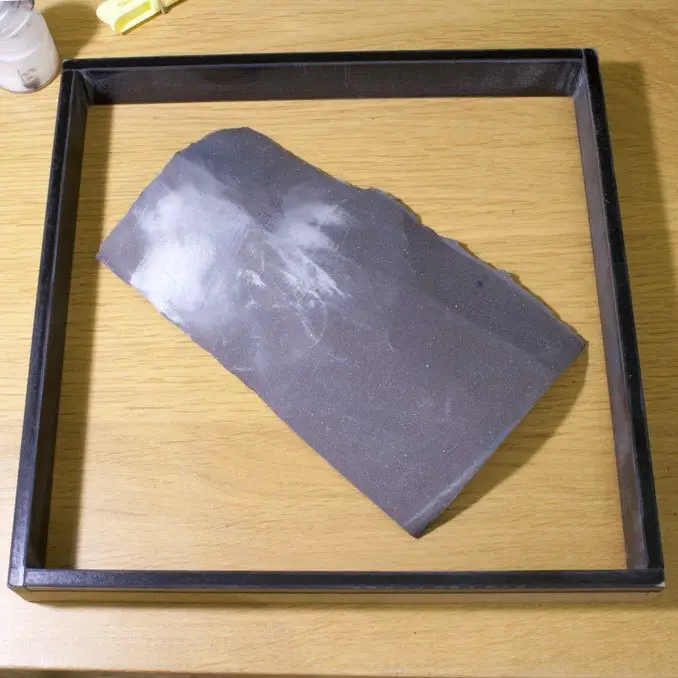
Sanding – As mentioned above, I used 2000 grit sandpaper because I didn’t realise I’d need it before I started, the 200 grit was inside in my modelling supplies and my coarse sandpaper was outside in the garage and it was cold, it was Boxing Day and I was in my Pyjamas at 2 in the afternoon.
You basically want to take the smooth surface off the inner frame of your DIY Dice Tray. So essentially, just key it and give the PVA Glue something to bind to. If you are really desperate you could just cut into it loads with a knife I guess. unless you start carving chunks out, it’s still gonna be smooth when you put the felt on.
Whatever you do, be gentle as the frame is rather weak on its own.
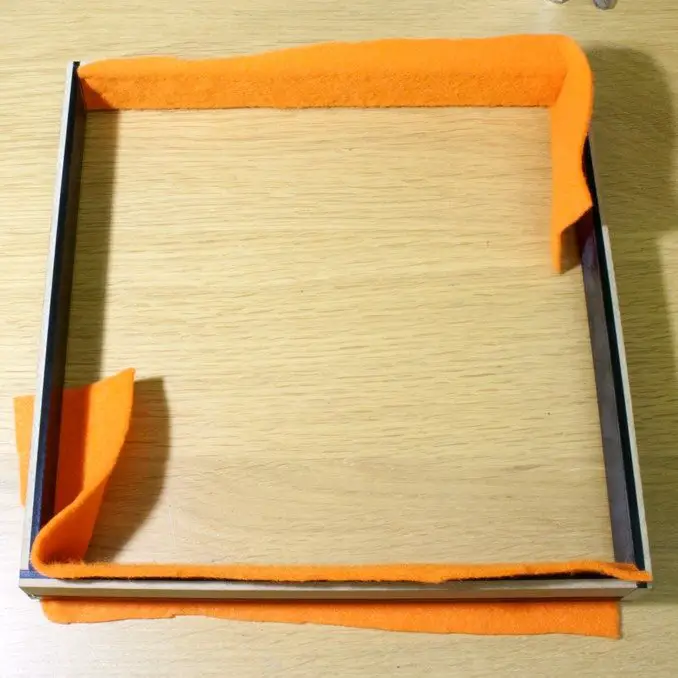
DIY Dice Tray – Step 7
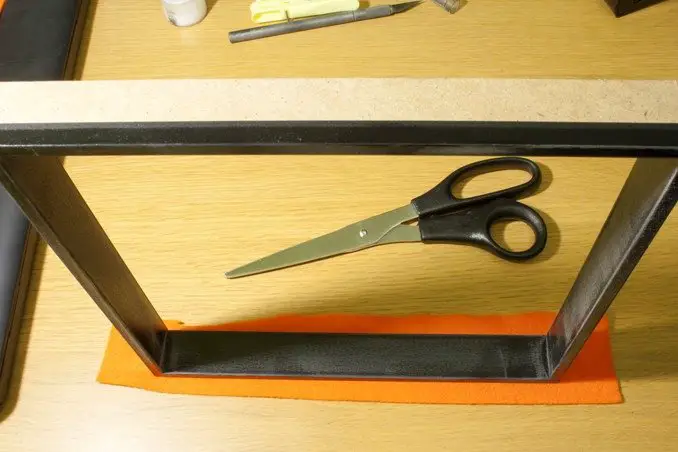
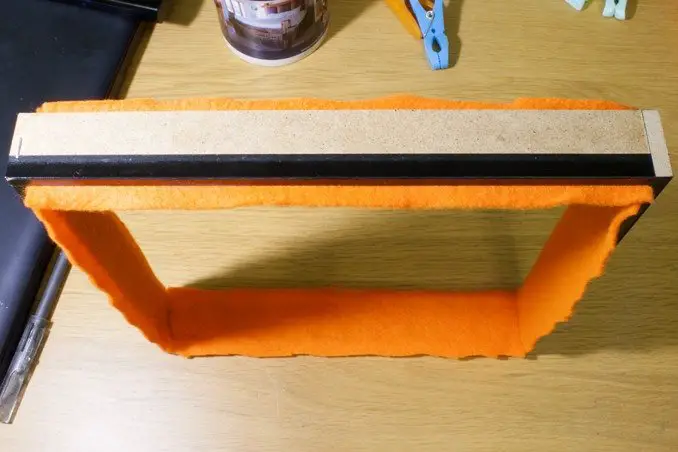
Measure up the felt for the edges, put the frame onto its side over the felt, make sure you have enough to cover the side and come up the edges, I was close in this first pic to not having enough, but, most of this is covered and the Felt stretches.
DIY Dice Tray – Step 8
Glue and hold, (you see the pegs? don’t use these!)
Put some PVA Glue along the inner side, just as you did with the backing board, don’t put it along the edges just yet. Put the felt down, smooth it across the surface of the inner side and find something to hold it in the edges. you want something flat across the whole surface. the pegs were too much and left dents in the felt. This mostly brushed out but in some cases it let the PVA Glue soak through and now there’s a hard patch. you can’t tell in the final pics and anyone who sees this in person probably won’t know, but I know and it pisses me off!
If you had something flat to sit over the felt and spread the surface area pressure, you could peg or clamp that in place and jump onto the next step, otherwise, wait for this to dry.
You’re only putting glue on one edge, you may have some overlapping felt going up the other side, you can trim this later.
DIY Dice Tray – Step 9
Do the opposite side of your DIY Dice Tray, if you aren’t pegging (oh the lolz), you may want to wait for the first side to almost fully dry before you do this step
DIY Dice Tray – Step 10
Make sure it’s dry and trim the excess going up the edges, one side should be one solid piece of felt. We are having all the joins in the corners. Use an X-Acto Knife or Craft Knife to trim right into the corners
DIY Dice Tray – Step 11
Glue the third edge of your DIY Dice Tray, trim this as you apply it now, use your X-Acto Knife or Craft Knife. you can now push this into the corners as the felt has a little stretch to it, make it neat in the corners get it nice and smooth then clamp it in place until it dries
DIY Dice Tray – Step 12
We’ve done the same thing now for three steps, I’m going to leave the instructions for this step open to your own interpretation, but basically get the felt on the final edge of your DIY Dice Tray.
Once this is dry, trim all the edges so that you have enough felt for the overlapping sides but not much more or it won’t fit back in the outer frame.
DIY Dice Tray – Step 13
Trim the backing board, if you left all the inner frame edges to dry, the backing board is definitely dry by now. Trim this as close to the edge of the actual board as you can with no overlap.
DIY Dice Tray – Step 14
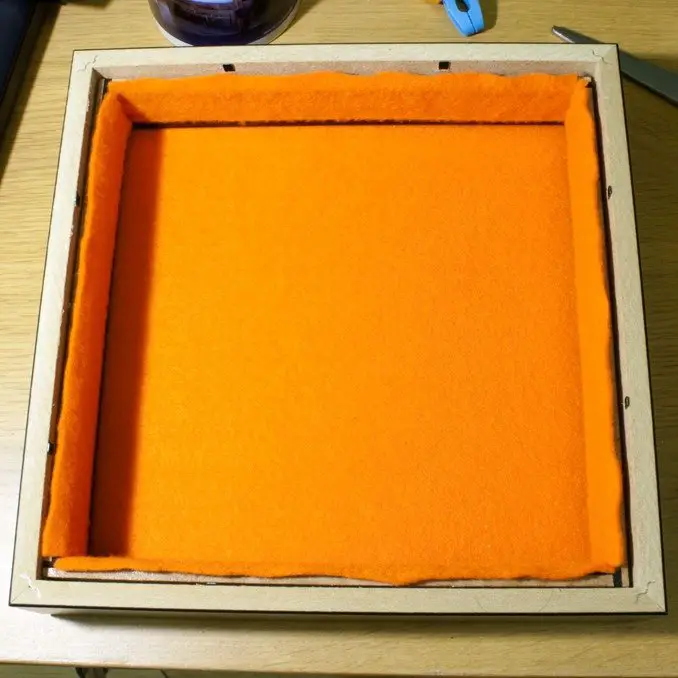
Put some glue on the edges of the inner frame (on the side that will be closest to the front of the outer frame) and fold over the remaining felt, you can clamp it here if you want but the pressure of closing the frame will be enough to hold it in place as it dries. As you push the inner frame into the outer frame, use something like a ruler to push the felt into the crease so that it is neat.
Also, confusingly, I have put the felted Backing Board beneath the frame here, it looks like I’ve put it in the frame, I haven’t, I just sat the frame on it as I took the photo.
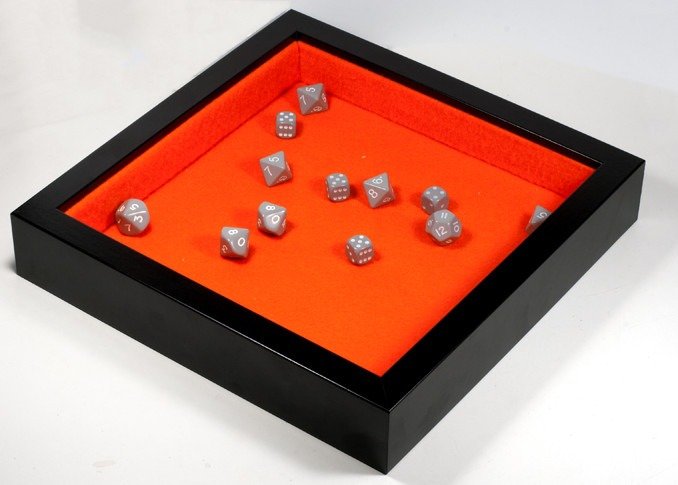
Handcrafted Dice Tray – Complete
Apply glue to the inner edge of the inner frame (the edge facing the rear) and fold over the felt, Put the backing board back in and again use something flat like a ruler to tuck the felt into the edge as you press down. Use the clips of the frame to hold the backing board in place and wait for it to dry, but you can now pretty much use it as it is drying.
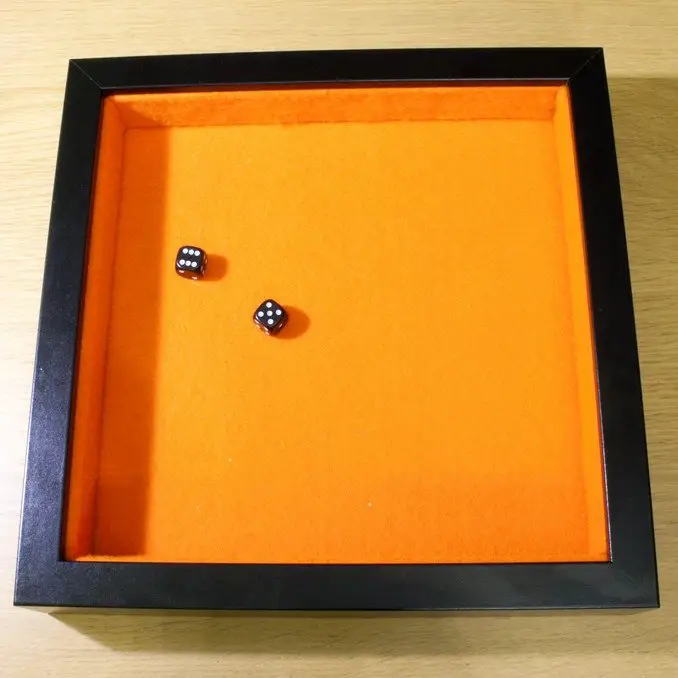
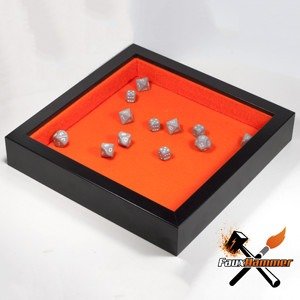
Now, Roll some dice on your new Handmade Dice Tray. Warhammer Dice is what I had to hand.
What did you think of this Tutorial? please let us know in the comments.
If you like what we’re doing here you could really help encourage more content with a share on any social media platform.
Click the share links at the bottom of this screen (or on the left for computers and tablets)
Want to keep updated with the blog? You can subscribe in the sidebar for RSS or by email below
(Sidebar is below the article on Mobile Devices)
Author


nice job!
Hey, I didn’t know you had a blog! Love this dice tray idea.
glad you like it, yeah I’ve had one for a while. I should have said…
Cheers for this! I, too, did not want to spend a tonne of money on a dice tray and this is absolutely perfect for my needs.
I’m making this for some friends who are into dnd. I paired it with a dragon scale dice bag that I crocheted. You should make a video on YouTube as some of the instructions can be a bit difficult. Also since I cant get to IKEA due to covid and they are hella expensive on ebay, I ordered some generic shadowbox frames from amazon for under 10 dollars. One other change I did was put jewelry box feet that look like dragon feet on the corners. They were about 10 dollars for 8.
Great. I finished mine today. I made mine for Zombie Dice. Used red felt and stained the frame and then dirtied it up to make it look like the frame on an derelict shack. Then splashed blood red enamel paint on it randomly. Looks great. – Frame £3.49 from THE RANGE, felt £2.50 for half a metre from DUNELM. So i have plenty of spare too if make another.
https://i.imgur.com/PEGlGrS.jpeg
Nice build.
And that looks like my local ikea too… small world
FYI the Ribbas are no longer made in a way that will work for this. The Sannahed 9×9 must be the new version.
Thanks. Build it. It came out perfect!