Games Workshop (16 years later) – Part 3
Last Updated on December 13, 2018 by FauxHammer
In Part 1 and Part 2, I covered my memory of Games Workshop in the mid
There’s not enough space for the painters / modellers.
Like the last part, I’m going to start with an immediate observation; Whilst the modelling side has greatly improved, there still doesn’t seem to be enough focus on this part of the Hobby at Warhammer World. Perhaps it would be better to say, there hasn’t been enough “change” over the time I’ve missed, when compared to everything else that has. This is something that remains very much the same.
Not me
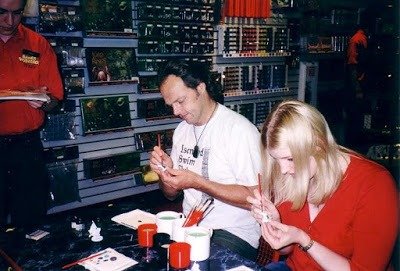
Back in the day you could nip into any shop, ask for paint tips and even sit down with the guys in store and try out techniques. That’s how I learned to paint Jewels, eyes and general highlighting. today it’s very much the same. A young-un can walk in, ask to sit and paint and I saw a great moment where a dad watched one of the store staff walk a little girl through painting a space marine. Awwwwww, i honestly cant wait to do that with my daughter, but at the moment she can’t even hold a spoon so I’ll give her a bit yet before I expect her to have much control with a paint brush.
I think my expectation here would that there would be someone manning a modelling station all day, literally just building and painting stuff to go in the cabinets. Just cracking on with some work, waiting for someone to walk up and ask a tip. But it’s not there and in al the conversations I’ve had since, nobody has mentioned that there are any specific events tailored to painting and modelling.
I’d love to see this, but mainly because I’d be there every week with a new Space Marine asking how I can improve it. perhaps if they had too much of that, they couldn’t keep up with demand and for a free service, could they justify the cost. Games Workshop is very much and very obviously a business in the interest of making money after all.
Online Tutorials exist now too with the official painting guides run by Duncan Rhodes. When I first watched one of these I thought “Eh what an amateur”, with him slapping paint on and going over parts with a colour that had no right to be there just because he’s too lazy to paint inside the lines. But after seeing the end result I realised that the new paints cover so well that its ok to go outside the boundaries a few times because you’ll just paint over that later. They have a full guide to painting and modelling everything in the Dark Vengeance set along with some primary figures from each of the armies as an example and even some advanced multi-part guides for large models. Great for beginners but this still can’t beat hand’s on experience if such were more openly available.
Paints
The paints have had a massive overhaul, first of all, forget Skull White, Blood Red or Chaos Black and learn the new names White Scar, Mephiston Red or Abaddon Black (The new Blood Red is actually called Evil Sunz Scarlet, but Mephiston Red is the more commonly used red as Blood Red was the most common red back in my day).
![Games Workshop Citadel Paints Blood Red [Pot]](https://fauxhammer.com/wp-content/uploads/2015/07/Games-Workshop-Citadel-Paints-Blood-Red-Pot.jpg)
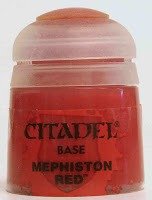
I prefer the older hexagonal pots (previous to the one pictured), as they had more paint in them and a better lid, but the new ones being clear means I don’t have to pain the top of each one to show the colour inside.
All of the paints have new names, and there are a load of new pains too. The guy in the shop explained that this is because they have a new chemical formula and they had to change the names for legality reasons. but this is probably more to do with them just wanting a re-launch and the company who makes the paints has changed.
There is a conversion chart GW offer but I prefer this one because it’s the first one that appears when you search “GW paint conversion chart” on Google, it also lists other paint brand’s equivalents. Although there are direct comparisons, some do not match up. Space Wolves Grey for instance has been replaced with Fenrisian Grey, which is more of a grey-baby blue colour than the icy blue-grey they were before. Personally i’m not a fan of the new style but I paint my Space Wolves in a dark grey (Shadow Grey/Eshin Grey) anyway. (based on this tutorial by MikeyM)
Left: Space Wolves Grey, Right: Fenrisian Grey
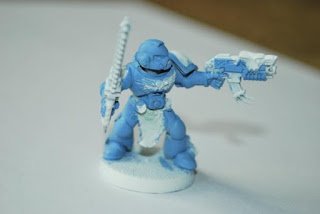
Its not just the names that are new, there is a whole new paint system. What I used to call “advanced” techniques is now the standard process. My painting process would normally consist of;
- Undercoat (Was always Chaos Black spray, and thankfully this is still called Chaos Black spray)
- Paint the primary colour
- Paint a wash which will darken the primary colour and darken it the most in the receses to create quick depth.
- Re-paint the primary colour over the raised edges of that surface
- Paint a lighter version of that colour over the edges to create more depth
- Paint an even lighter version (normally just white for me as I was limited to what paints I could afford and hated mixing) over the very tips of those raised edges.
- Or Skip 4,5 and 6 and just drybrush the fucker (my preferred method in thy younger days)
- Repeat for all colours.
Now, this process is “Standard” and the paint range has been split into new categories to reflect what they do.
- Base (this is put on top of your undercoat and has more pigment than the layer or edge paints, which means it is more likely to cover an undercoat in a single coat)
- Shade (These are kind of like the old washes but much better, they seam more diluted in their overall colour strength than a wash which means that they can be applied in several coats to evenly darken a base paint.
- Layer (This is where the more advanced techniques come in, this is a semi transparent paint and fore every base paint there are normally a couple of corresponding layer paints, being transparent means you build them up a coat at a time to create gradual highlights instead of the sharp edges you had before, having 2 corresponding colours means you can paint the highlights then fore the really pronounced areas, paint a lighter colour in “layers” again to get a nice bright edge)
- Edge (There are basically layer paints, super bright paints for the topmost and sharpest edges of the model, to be honest I just treat these like layer paints, perhaps I don’t fully understand the intention of these paints having their own category, but they are basically really bright layer paints)
- Glaze (These are somewhat like the old inks, I use them for Space Marine eyes, jewels or anything you would expect to have a glassy finish. like the washes or old inks they are quite diluted and work well after applying a base and 2 layer colours as they seem to blend those colours together and leave a glossy finish)
- Dry (You can dry-brush any Base, Layer or Edge paint to be honest, but these are much thicker than a standard pot and are fantastic when Dry-Brushing as the consistency is just perfect to apply this technique easily, but the range is rather limited so unless the colour you want is in this group you may as well stick to dry brushing your preferred colour from any of the above categories).
- Texture (these are great for bases, I used to mix Codex Grey and sand in order to make my bases look like they were in a destroyed urban setting, now it’s ready mixed. but more than that there are now paints which look like snow and paints which crack as it drys so it looks like an alien planet or arid wasteland.
- Technical (another brilliant addition as they are paints mixed with a modelling technique, The stupidly named Blood for the Blood God looks like real blood. But theres also Rust, Snot and even that blue stuff you get on copper when it’s been weathered to name a few, a limited set but just a brilliant way to add some cool features quickly)
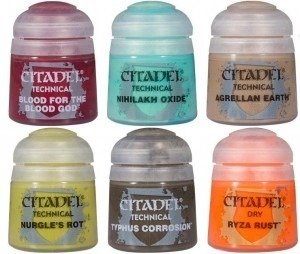
Technical paints
The new groups along with the guides on how the categories work together are great for beginners to immediately deliver excellent results without much skill. Base, Shade, Layer, Layer, Edge, Glaze, repeat for all colours and add Texture or Technical where necessary is so simple, even some of the models at Warhammer World that look like they have been painted in a rush are still very impressive.
Just a Base, Shade and one Layer can turn a beginner into a painter who can impress their friends.
From Tale of Painters – one of my favourite blogs.
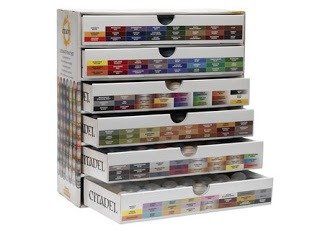
The paints are sold in good collections too, as-well as the individual paints you can get Starter Sets of the different types, online you can pick up a collection for your specific army or even the incredible Ultimate collection of all the paints. I wanted this back in the day and couldn’t help but buy the new version.
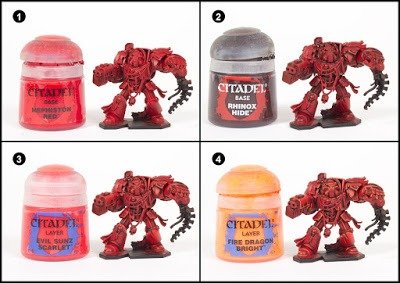
The overall texture of the paints is now more consistent, not perfect but everything has more of a general Matte look. I remember Space Wolves Grey was a matte colour before whereas Blood Red was incredibly glossy. I always saw the pro painted models have a standard matte look but could never copy this and wondered how it was done. As it turns out this is due to a combination of techniques including air brushing, using correct substances (not water) to thin the paints or a matte varnish. But now you get that matte effect with the majority of the paints.
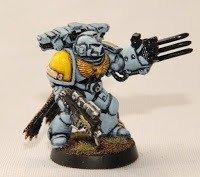
This coupled with the new technical paint (well it’s in that category in my kit), Lahmian Medium. Use this rather than to thin your paints as it stops them drying out so fast and makes the paint flow much better, leading to a smoother gradient between colour changes. (Personally I use Liquitex Flow aid because it’s not much more expensive for a ton of the stuff). Coverage has improve greatly too, the base paints are incredible, I remember painting about 8 coats of Blood Red over a Chaos Black spray and I ended up with a solid colour but lost most of the details to the thickness of the paint. now Mephiston Red (a base paint) will cover Chaos Black in 1-3 thin coats without much (if any arguable amount of) detail loss, check Terminator the example above, that’s red on top of black.
Brushes and Tools
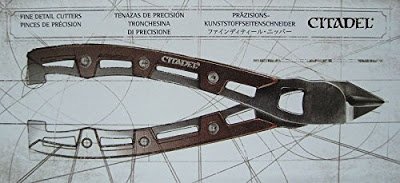
I loved the Games Workshop tools back in the day, I had everything from the Games Workshop Cutting Matt to the Games Workshop clippers, every brush they made and upgraded the brushes, every time they changed style, for no reason but I wanted it.
Now I’m a little older and a little more world wise, I understand these to be what they are, Branded.
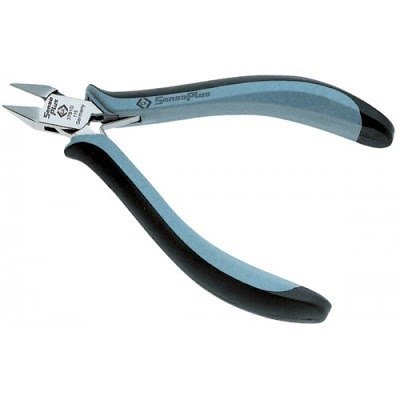
The new kit is a bit more stylised, such as the clippers which have a wooden/metal almost steampunk look to them (they look rather uncomfortable), but much like the old kit, they are just basic clippers. For a similar price (if you shop around) you can get an incredibly good industrial grade set from the likes of CK Tools Senso Plus range which cut better, will last longer and have a more comfortable grip.
The same goes for everything in the range, The Spray Gun for example (which I think is discontinued) looks like a flame thrower, but is power by cans of air (yep GW are selling you air) and has not had great reviews at all. Tip: You can get a basic air compressor with 2 spray guns on eBay for only £50 (or 2 Space Marine Tactical Squads).
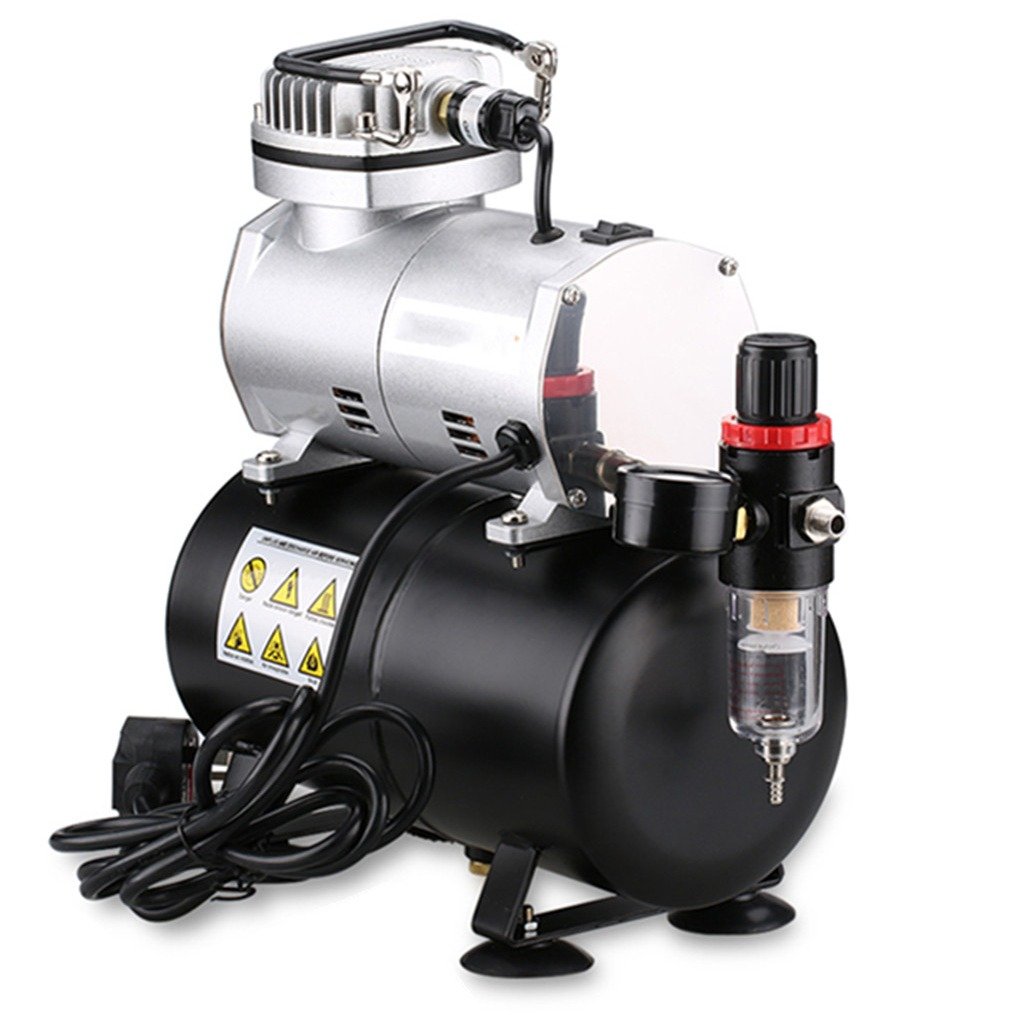
Basic Setup, by the time this one burns out, you’ll probably be wanting a
anyway.
For a guide on getting your first airbrush kit, see here.
I was hoping the brushes had a significant improvement, but this is a sad story too. Just as I was coming back to the hobby the brush range changed. One of the things
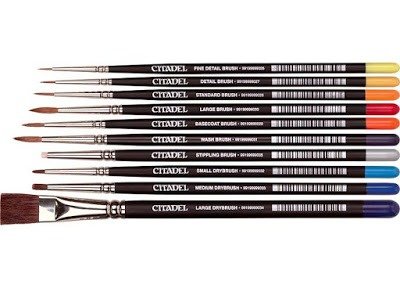
Of the last set, I got a fine detail an basecoat brush, the latter of which I use for slapping down a basecoat is great, but the Fine Detail brush literally forked (the point splits in 2 or more separate directions) after painting only the fine details on 2 models. You can sometimes recover tis with boiling water, but the brush is normally fucked beyond this point or you risk getting paint on your model where you don’t want it.
The Articifers I checked out in the shop were already forked in the sealed packaging, so good luck with that.
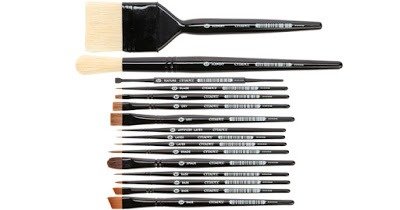
I’m whinging about these, but painting is my thing so I need goo Brushes to do my craft as well as I can. I know it’s a bad craftsman who blames their tools, but a craft’s man with good tools has no excuse and I need to see what the best I can be looks like. So I bought £70 worth of Windsor and Newton Series 7 Brushes from size 000 to size 6 along with a pot of The Masters Brush Cleaner. I’m about 50+ models in with these and even the finest of them is still like “come at me bro”.
They GW Brushes aren’t the worst, and at least for the price of most of them they do an OK job, and you can certainly be a good painter with these brushes. I paid nearly £10 a brush for the Series 7 and GW’s are like £3-£6 ish. i always get Dry Brushes and Mixing brushes from there as they’re cheap and they’re gonna get battered. but a £12 Articifer Brush Vs a £10 000 Series 7 brush (with which you could paint a second cock on a gnat) is no competition at all.
Sorry, you’re paying for the name and that’s about it.